
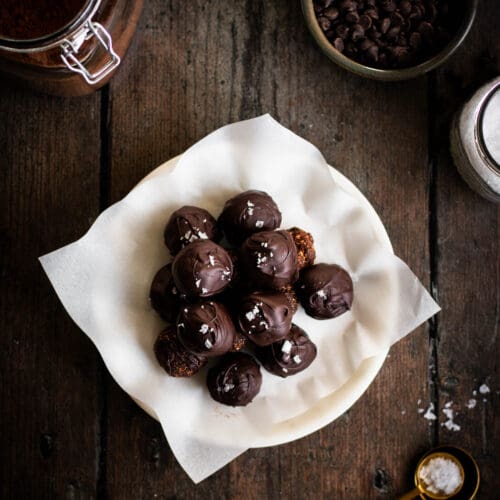
These little no-bake dark chocolate fig truffles (or energy bites) are perfect for a nutritious snack or dessert. They’re packed with fiber, naturally gluten-free, nut-free and sweetened with fruits and chocolate. They’re inspired by the That’s It Dark Chocolate Fig Truffles. We enjoy these, but I wanted to create a simple and more affordable option at home.
Table of Contents
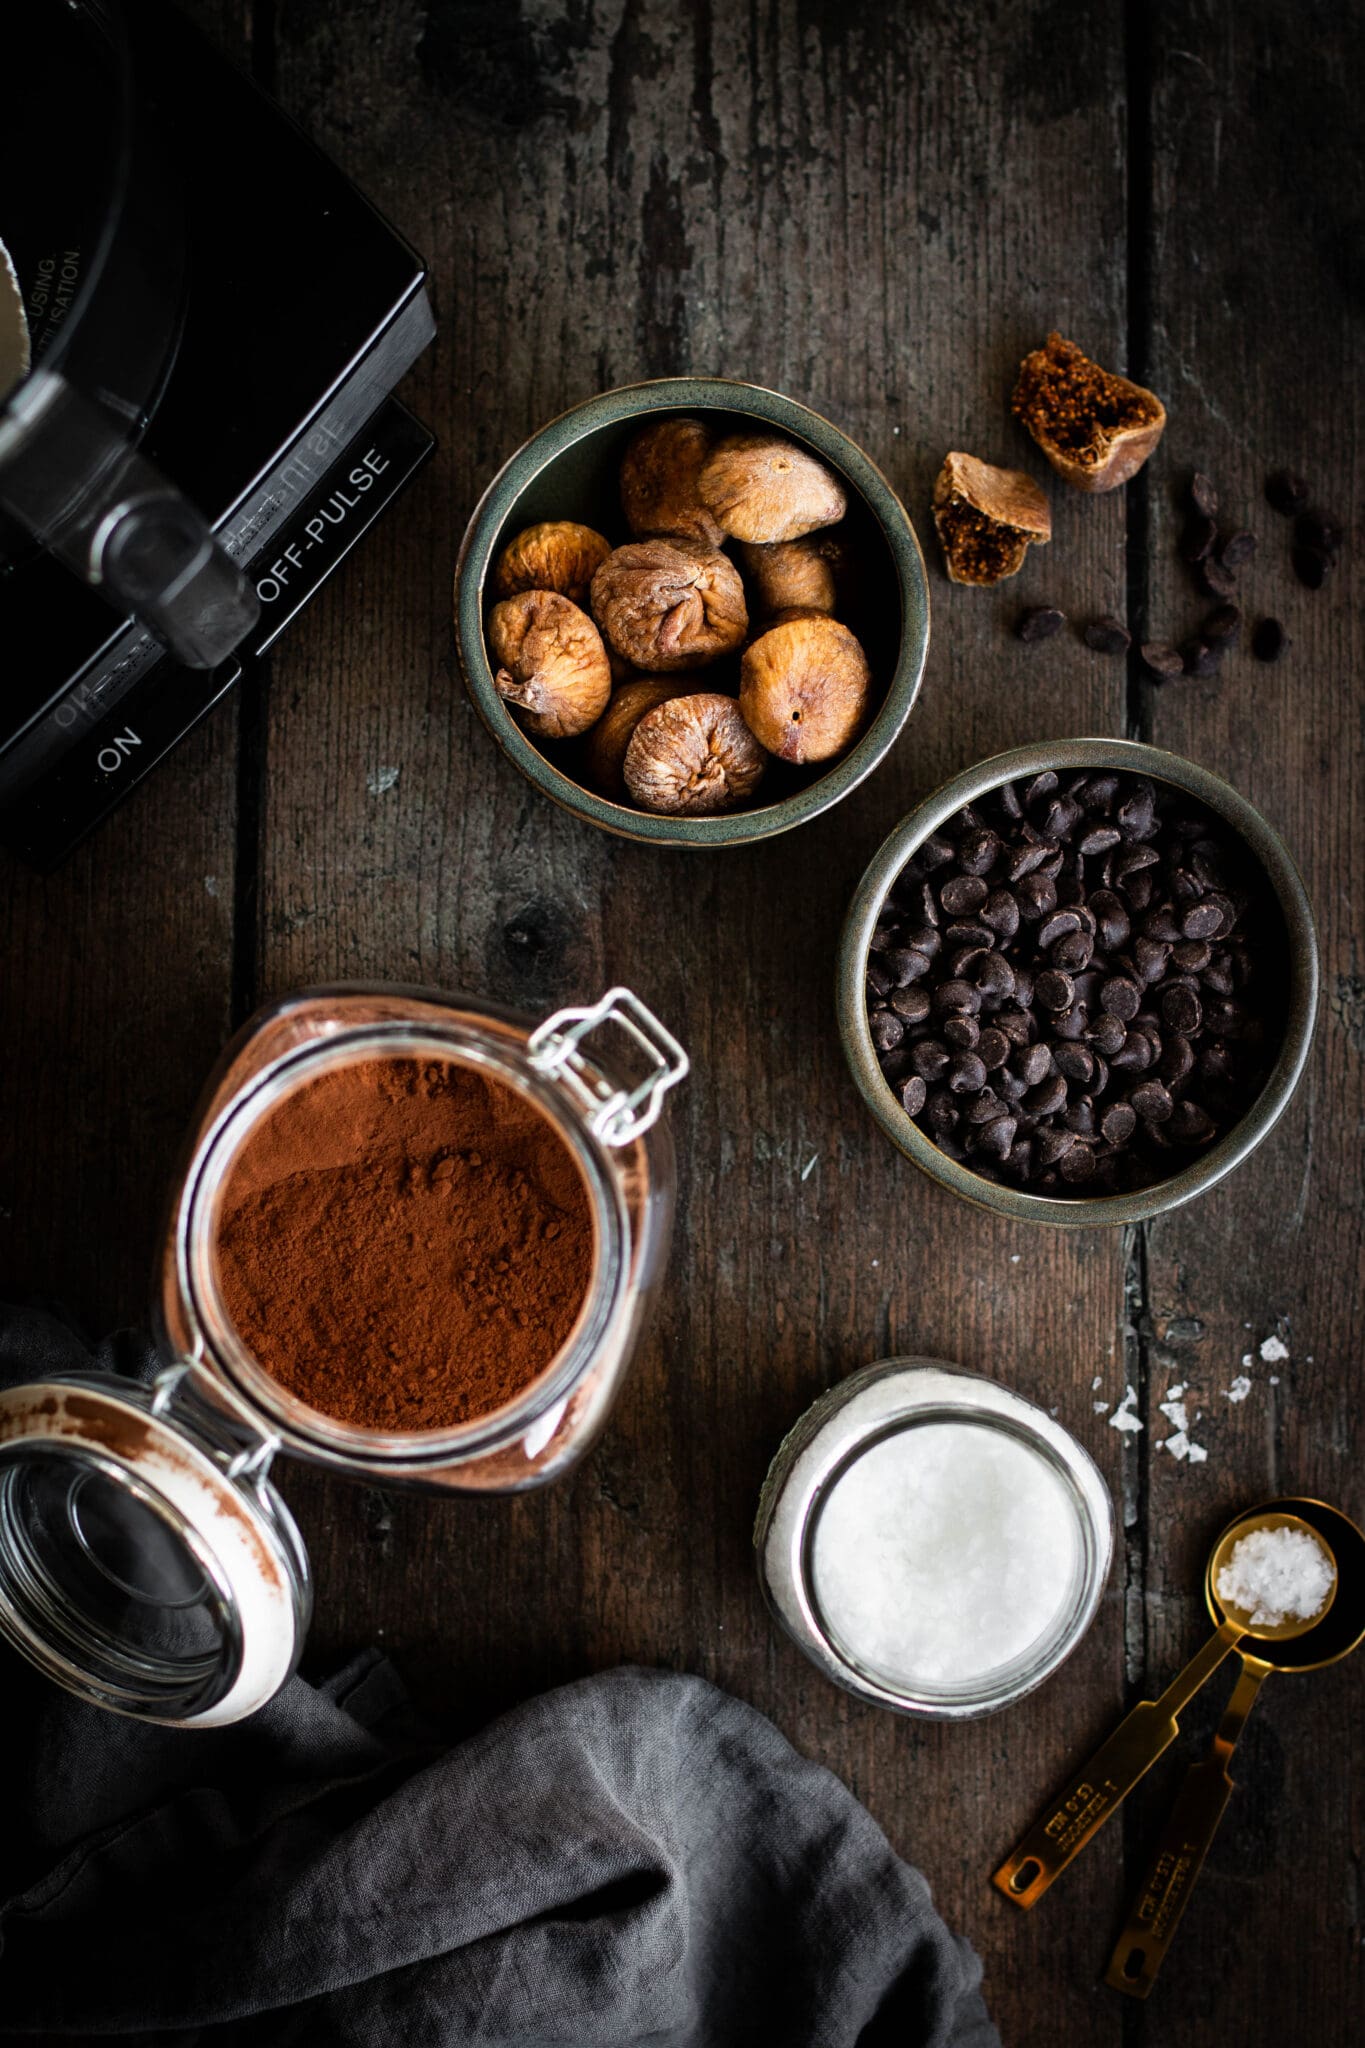
Ingredient Notes
- Dried Figs: I used the Happy Village sun-dried figs from Costco. They’re naturally sweet and sticky, making them perfect for no-bake bites. Make sure to remove the little bit of stem at the top. I haven’t tried this recipe with other varieties of figs but feel free to try it with what you have.
- Cocoa Powder: Use your favorite unsweetened cocoa powder.
- Chocolate Chips: You can use semi-sweet or dark chocolate chips. Many dark chocolates are naturally vegan. For a specific vegan chocolate, you can try Enjoy Life chocolate if available.
- Salt: You’ll need a small amount of fine grain sea salt for the bites. I also like to add a sprinkle of flaky salt on top. This is optional but recommended.

How to Make Salted Dark Chocolate Fig Truffles
Here are the steps to make dark chocolate fig truffles (or energy bites) at home.
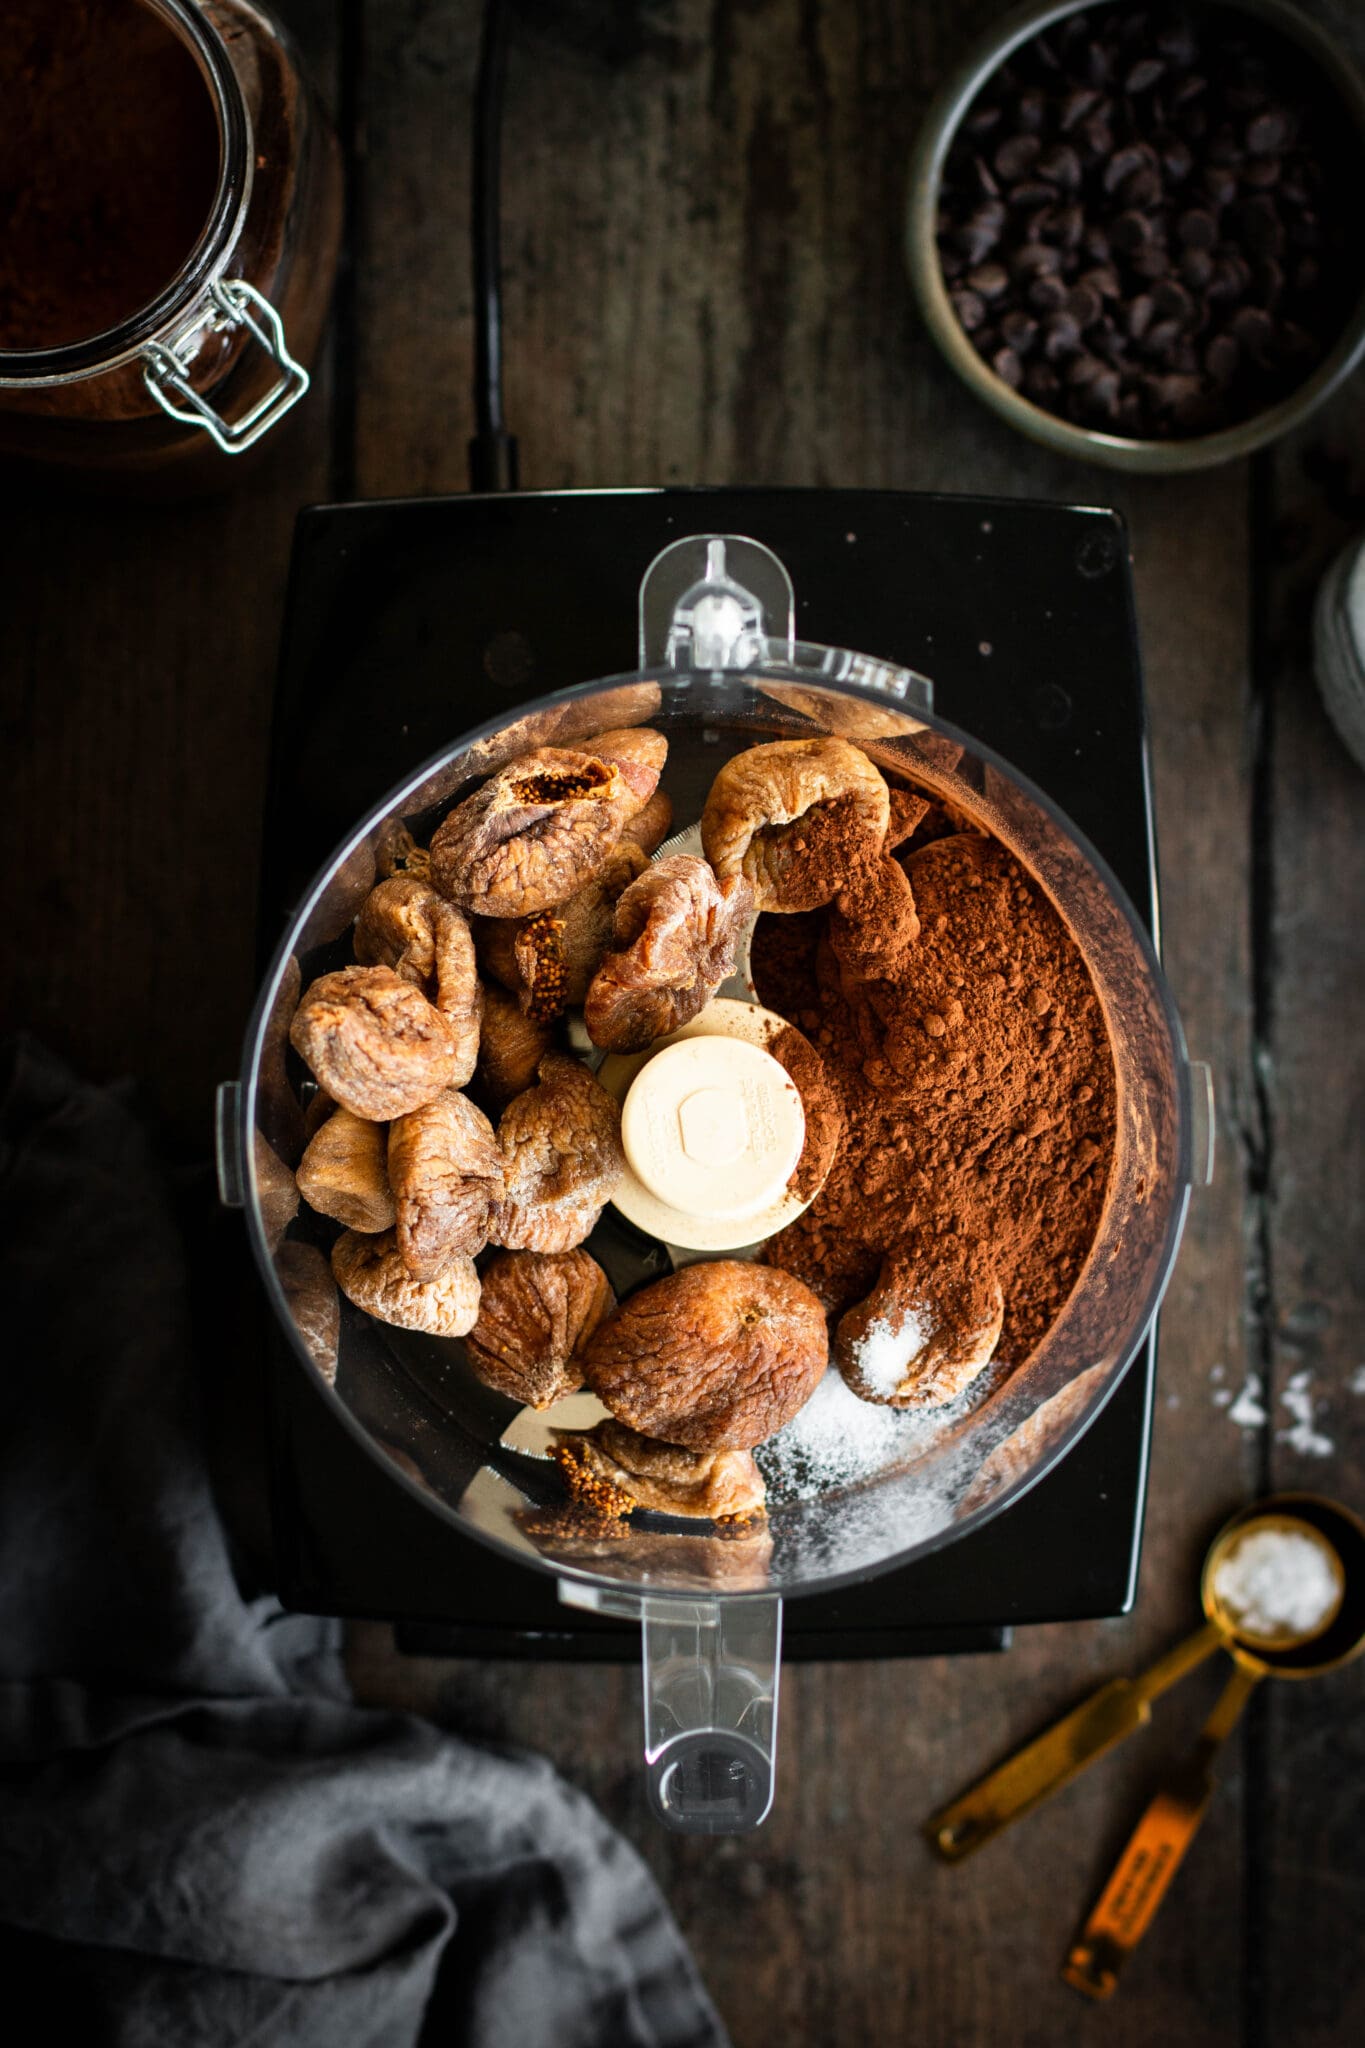
- Prepare the Bites
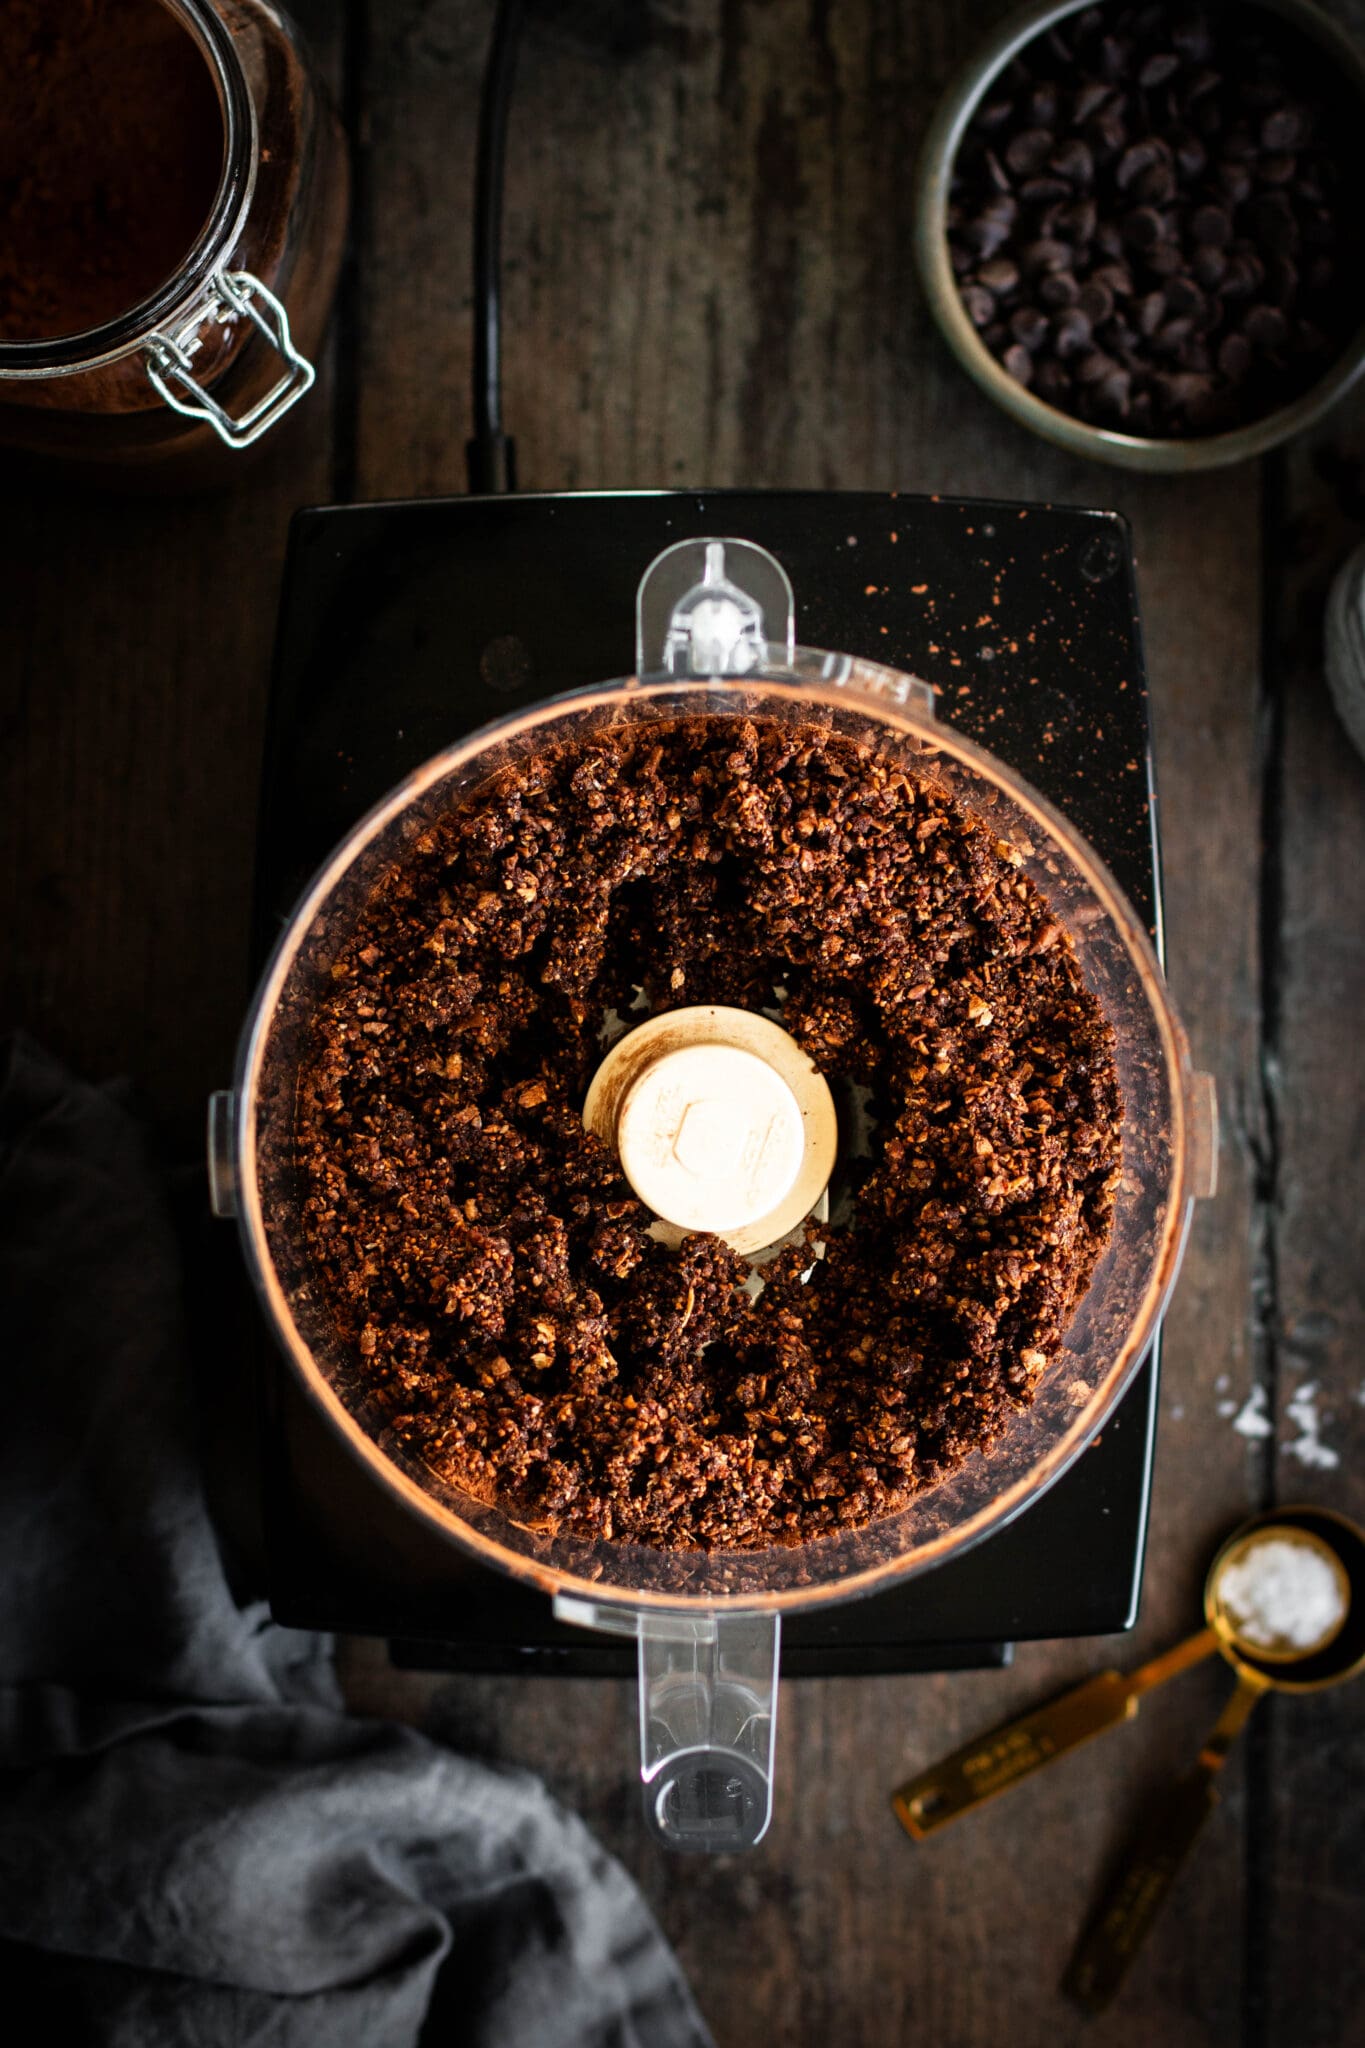
Add the dried figs, cocoa powder and salt to a food processor. Process until the mixture sticks together when pressed, about 15-30 seconds. Roll the mixture into 16 little balls using the palm of your hands. Place them on a baking sheet lined with parchment paper.
- Melt the Chocolate
Melt the dark chocolate. You can do this using a double boiler or the microwave. If using the microwave, add the chocolate chips to a microwave-safe bowl and melt in 30-second increments to avoid burning.
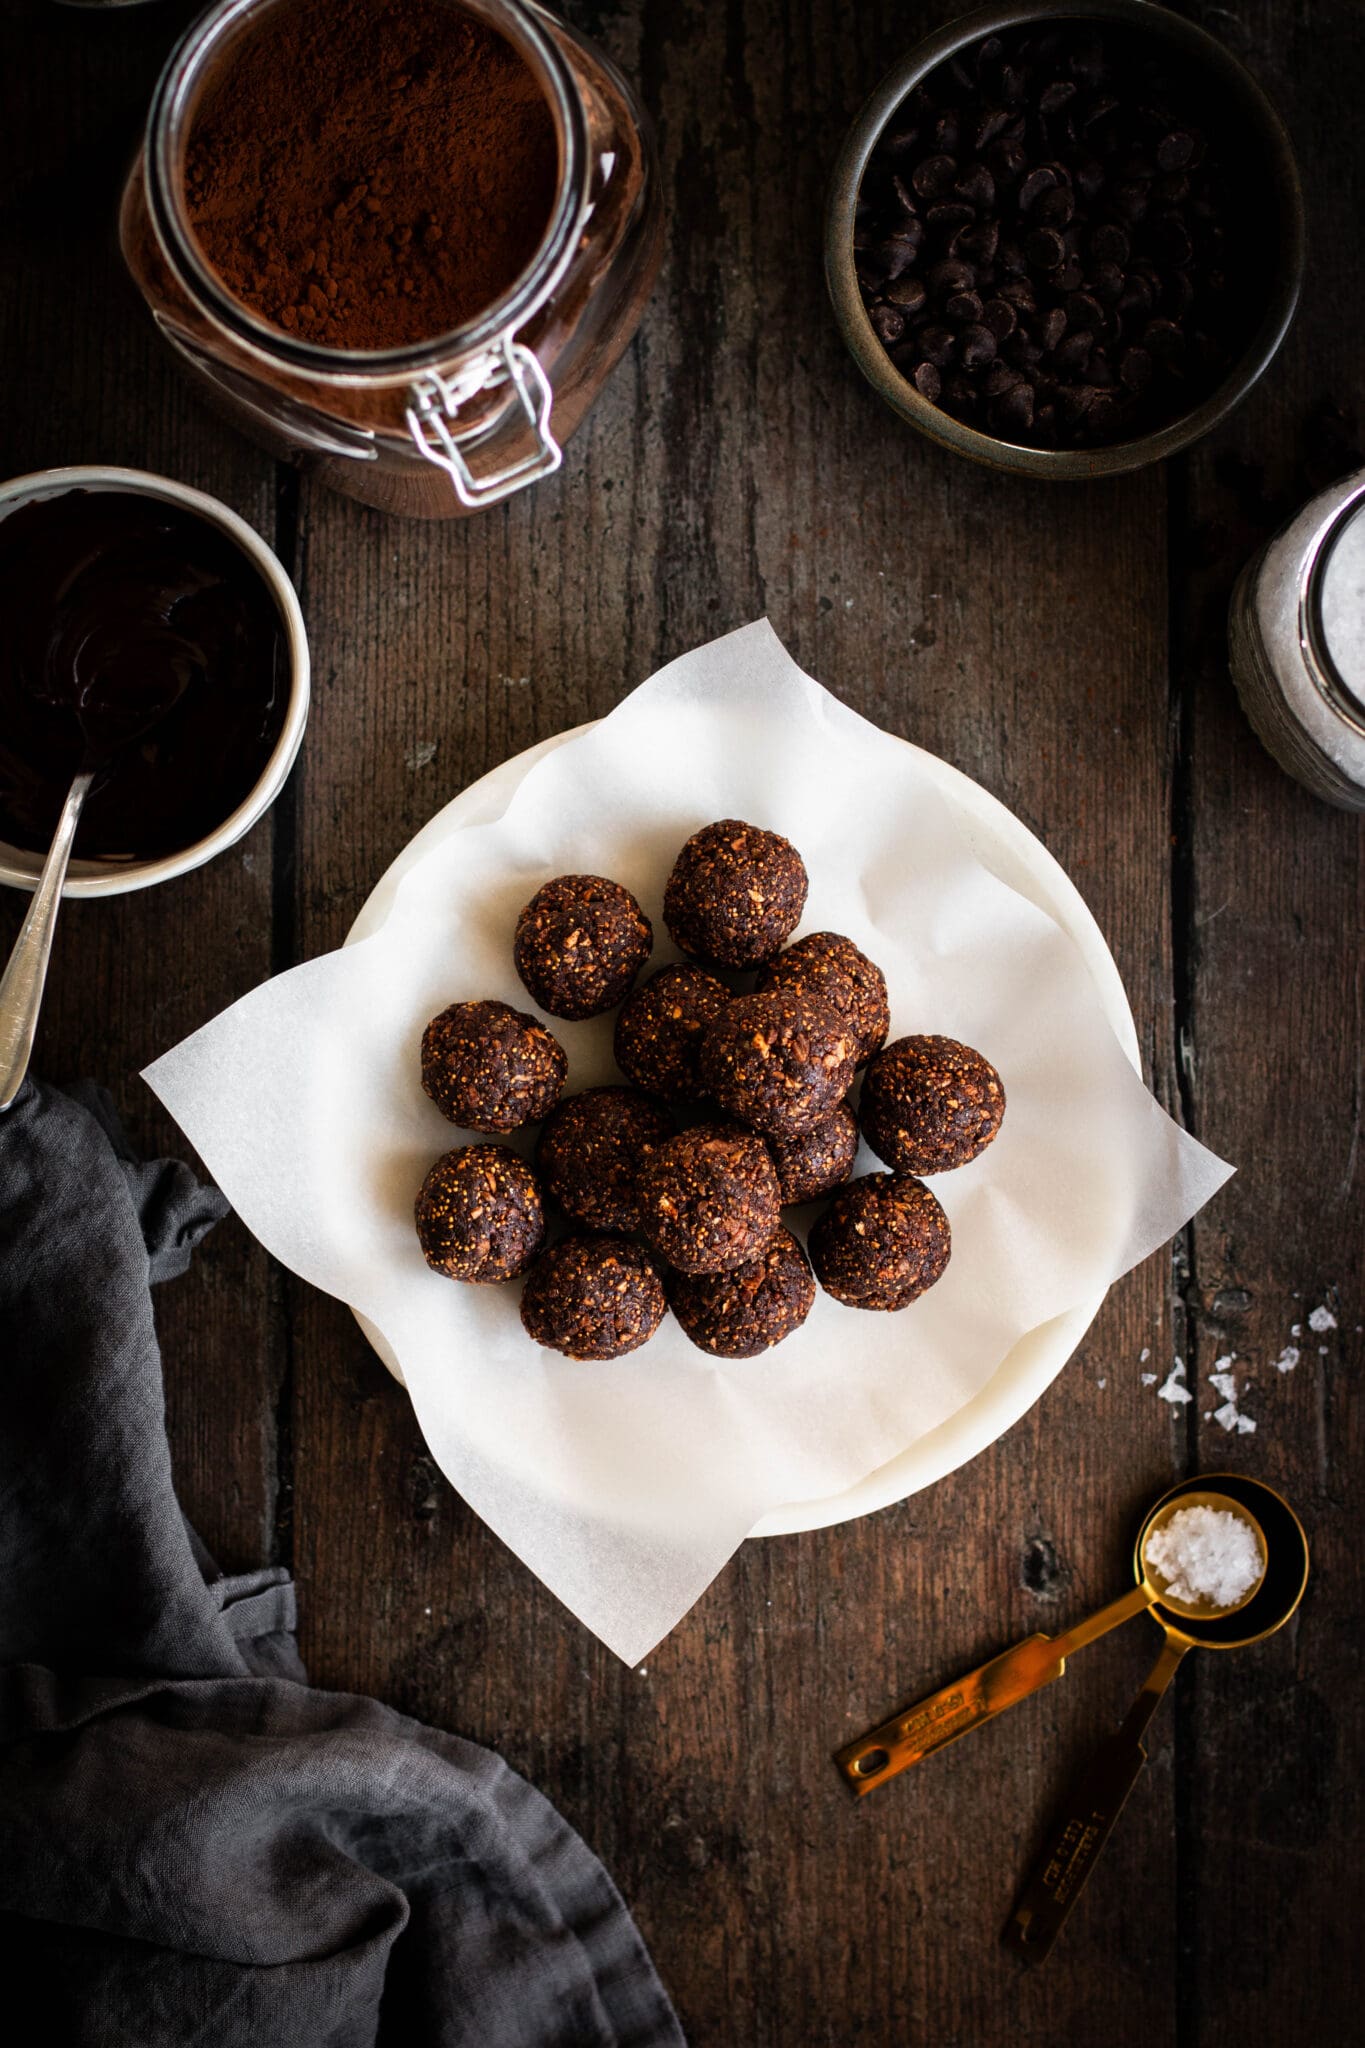
- Drizzle the Chocolate
Drizzle the chocolate on top of each truffle or dip the truffles in chocolate. Sprinkle with flaky sea salt. Place the baking sheet in the refrigerator and allow the chocolate to harden, about 10-15 minutes.
Fig Truffles Frequently Asked Questions
You can store the fig truffles in an airtight container in your pantry, fridge or freezer. I personally like to keep a batch in the fridge or freezer. They’re best when eaten within 1-2 weeks in the fridge or pantry. Or keep them in the freezer up to 3 months for the best quality. I do recommend storing them in the fridge or freezer if your home is warmer.
Yes! This recipe can easily be made vegan by using vegan chocolate. I find that many dark chocolates are naturally vegan. Enjoy Life has vegan semi-sweet or dark chocolate. I also like using the semi-sweet chocolate chips from Costco, which are vegan and much cheaper.
More Truffle and Energy Bite Recipes
- Dreamy Coconut Macaroon Truffles
- Dark Chocolate Mint Truffles
- Peanut Butter Chocolate Chunk Energy Bites
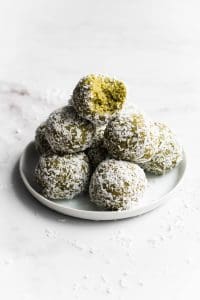
- Matcha Coconut Energy Bites
- Walnut Flax Energy Bites
- Pecan Pumpkin Spice Date Bites
- Salted Caramel Energy Bites


Salted Dark Chocolate Fig Truffles
Ingredients
- 2 cups dried figs
- 1/3 cup cocoa powder
- 3/4 cup dark chocolate chips (see notes)
- 1/4 teaspoon fine grain sea salt
- Flaky sea salt, for topping (optional)
Instructions
- Add the dried figs, cocoa powder and salt to a food processor. Process until the mixture sticks together when pressed, about 15-30 seconds.
- Roll the mixture into 16 little balls using the palm of your hands. Place them on a baking sheet lined with parchment paper.
- Melt the dark chocolate. You can do this using a double boiler or the microwave. If using the microwave, add the chocolate chips to a microwave-safe bowl and melt in 30-second increments to avoid burning.
- Drizzle the chocolate on top of each truffle or dip the truffles in chocolate. Sprinkle with flaky sea salt. Place the baking sheet in the refrigerator and allow the chocolate to harden, about 10-15 minutes. Transfer the truffles to a large sealable container and store in the fridge or freezer.
Notes
If you make these dark chocolate fig truffles, be sure to leave a comment and/or give this recipe a rating! And if you try this recipe, don’t forget to tag me on Instagram!


Leave a Reply