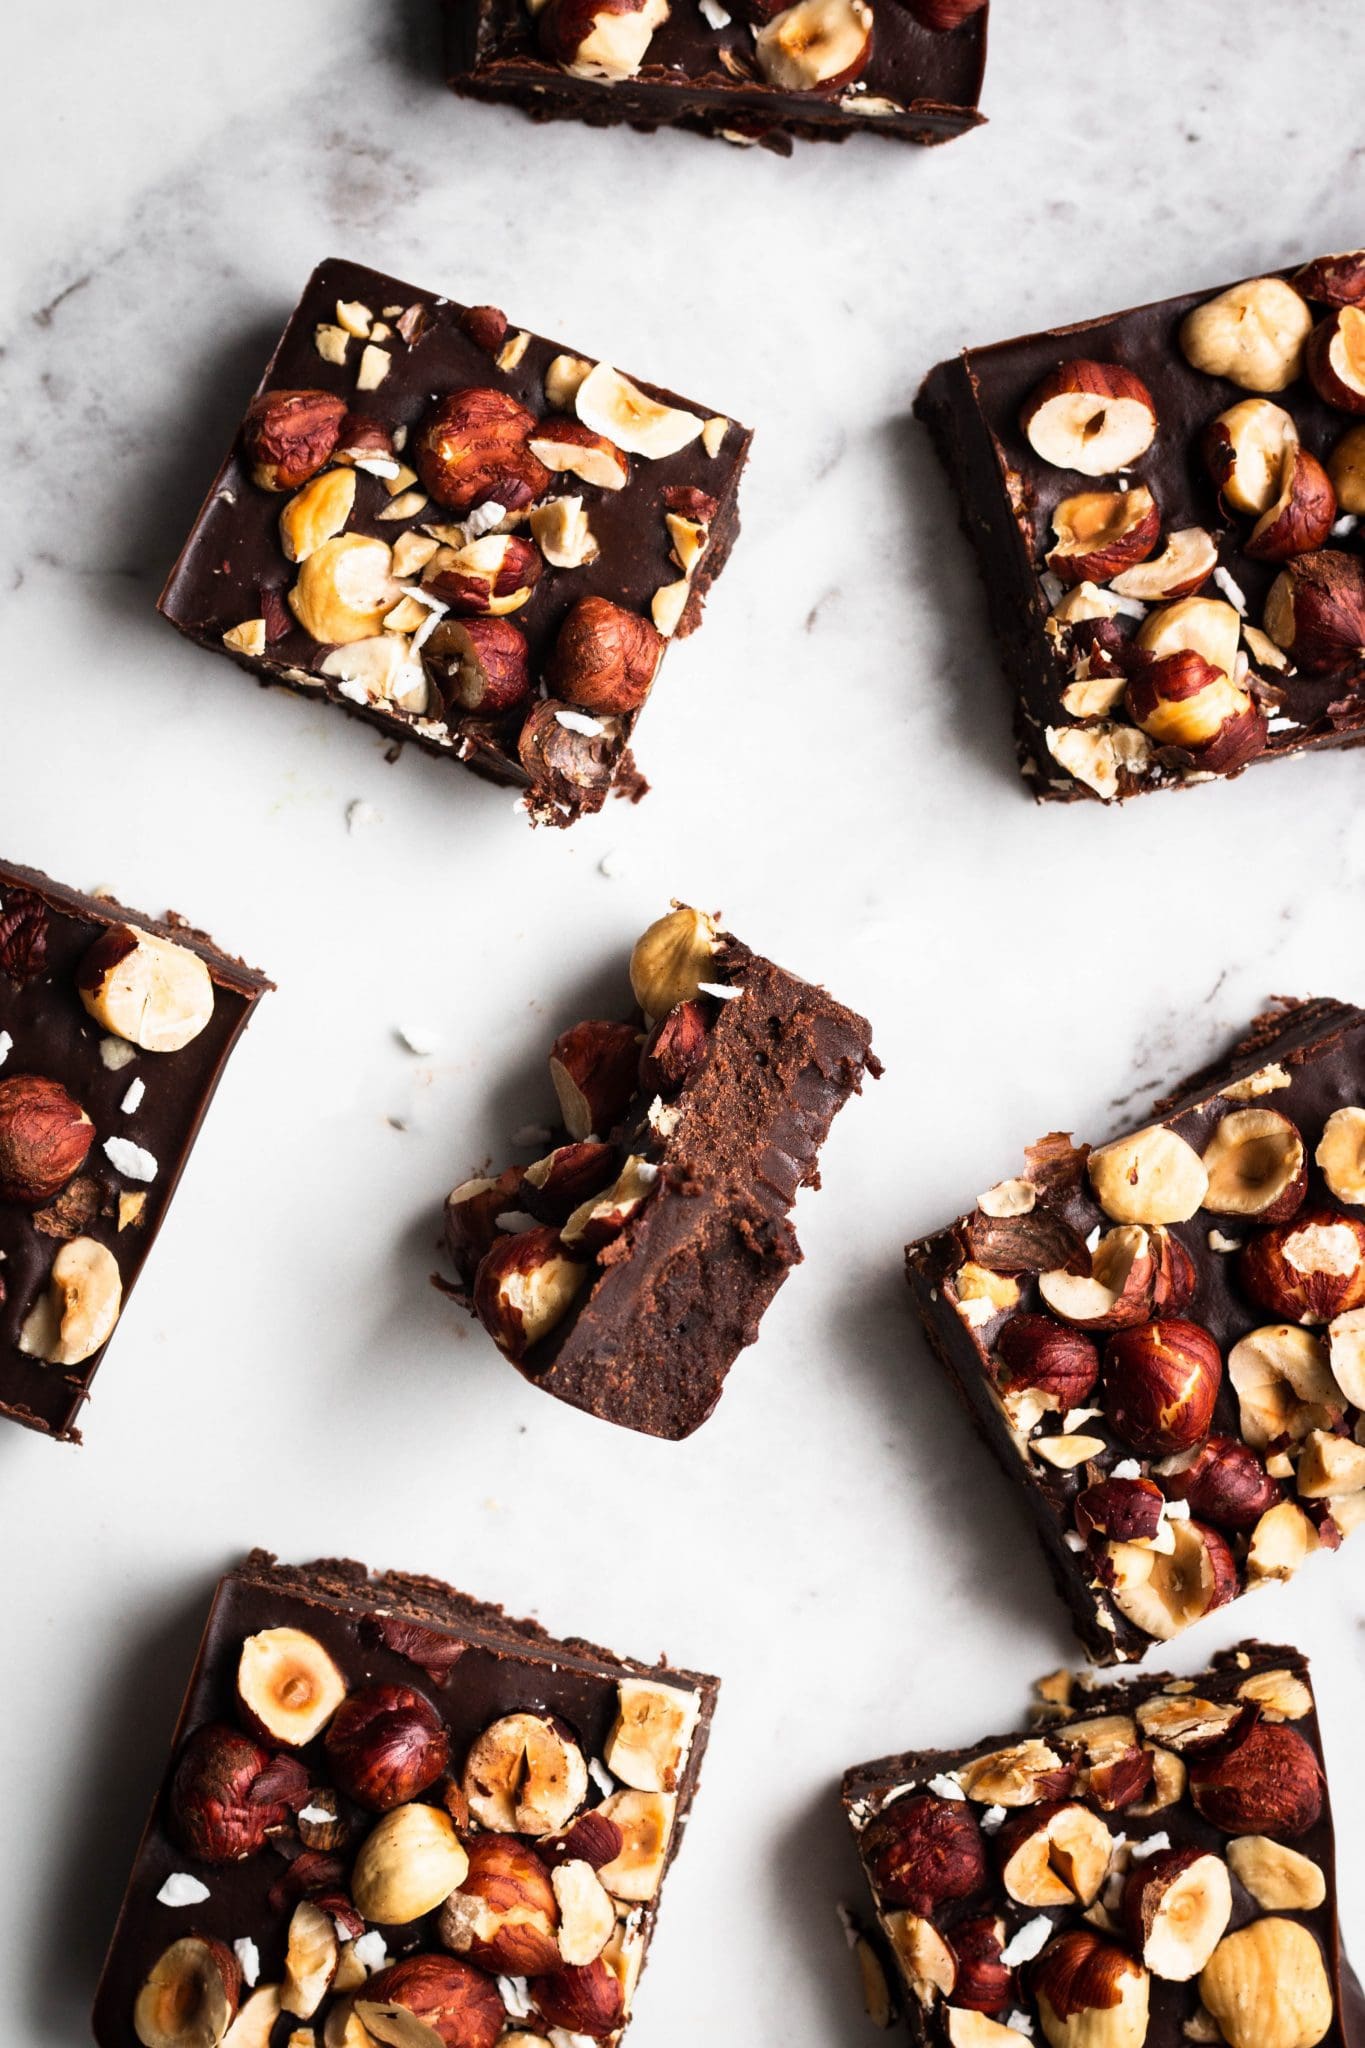
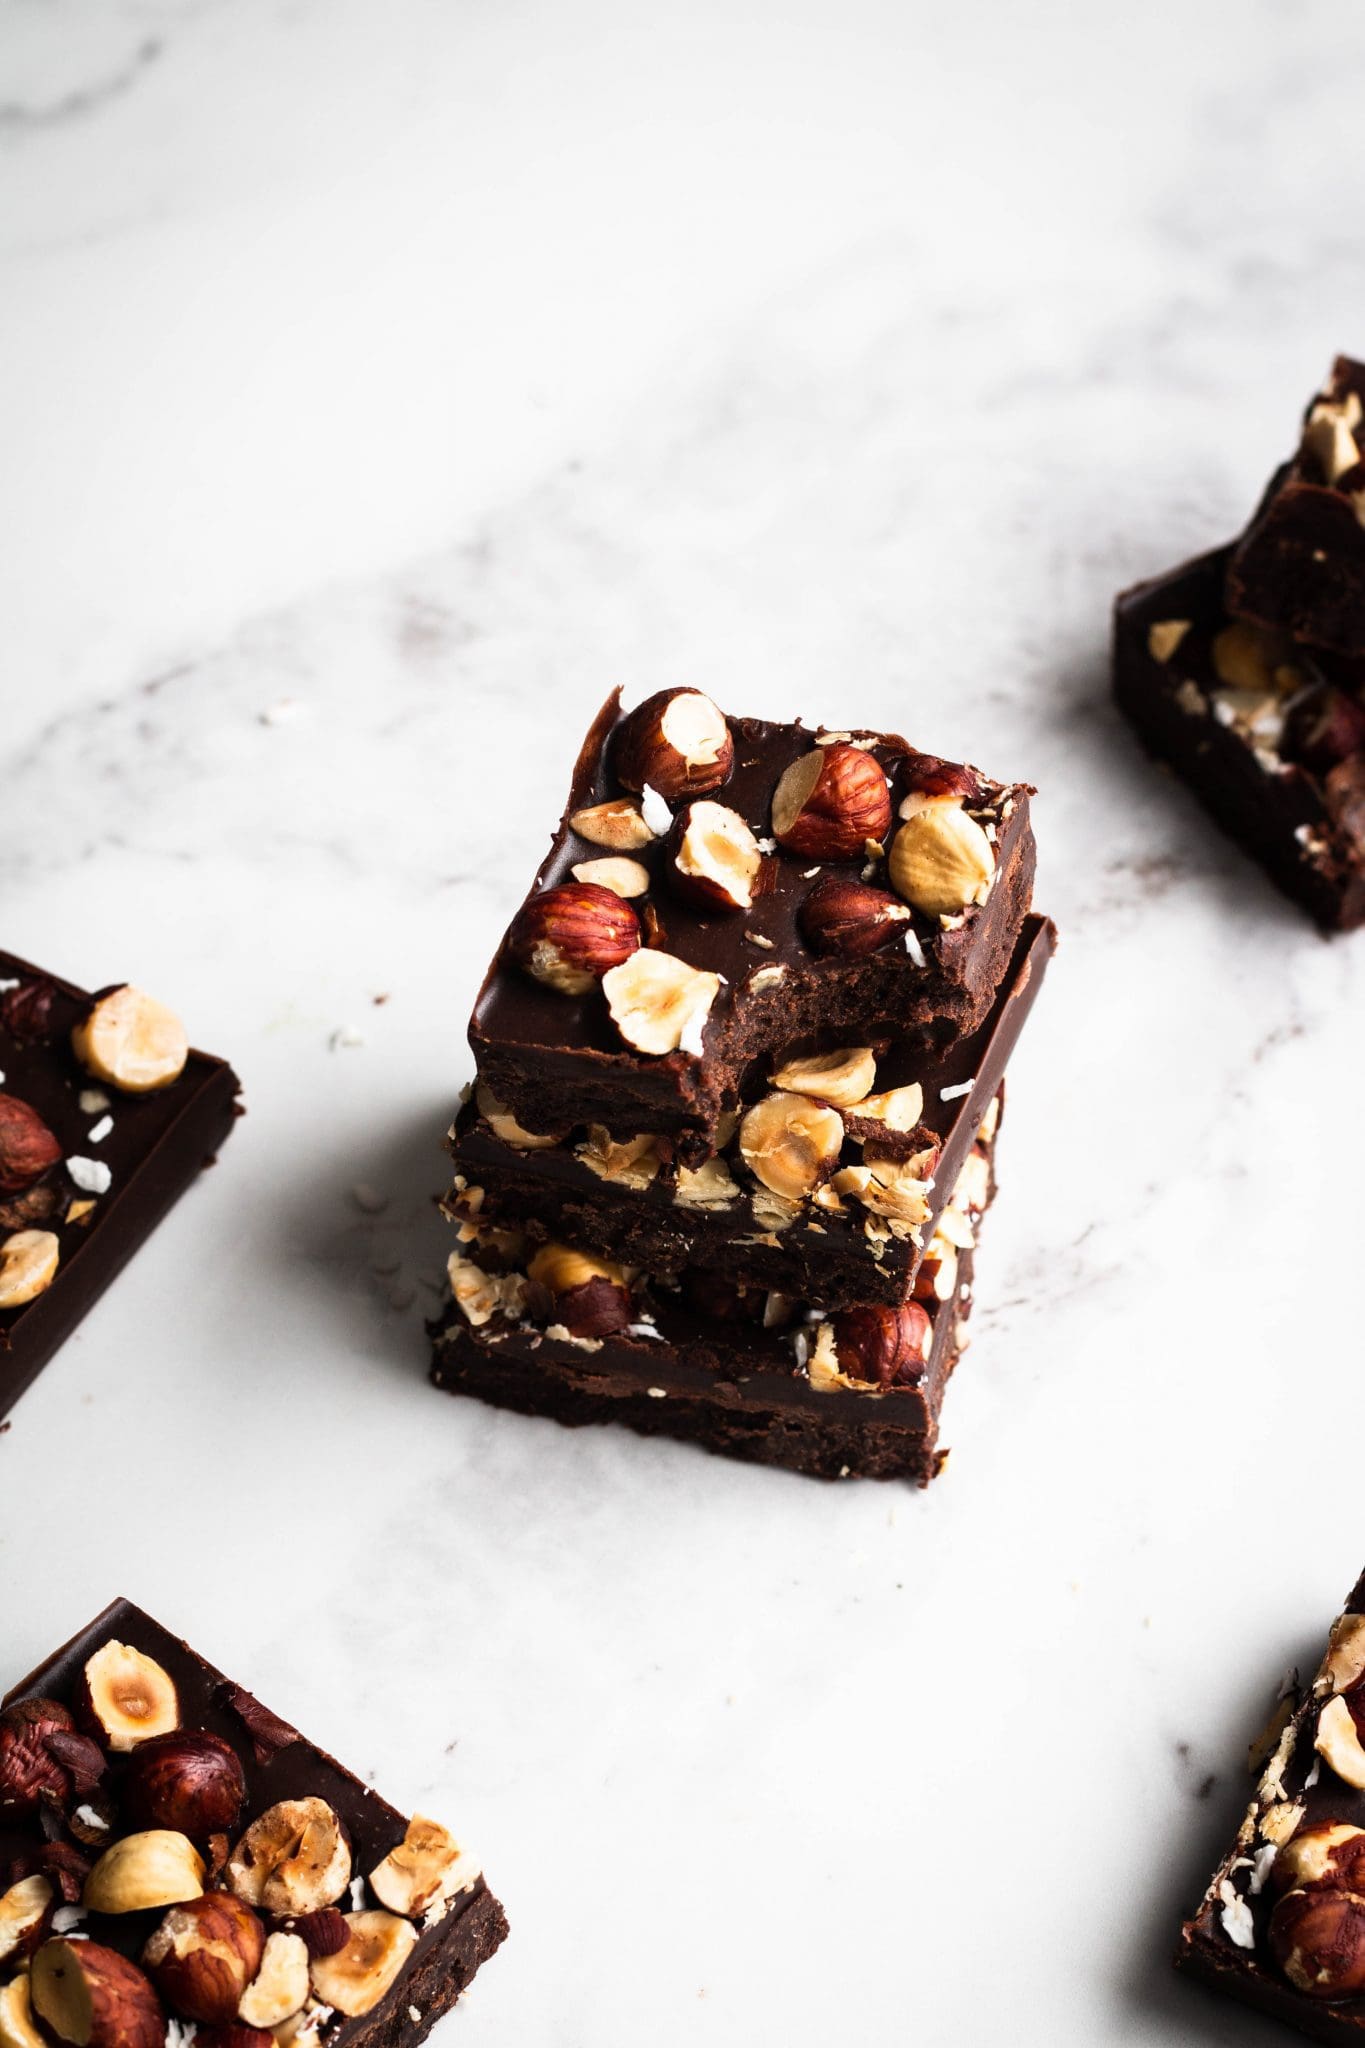
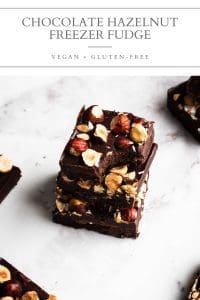
A simple chocolate hazelnut freezer fudge. This easy vegan dessert is made with 8 ingredients in less than 15 minutes of preparation.
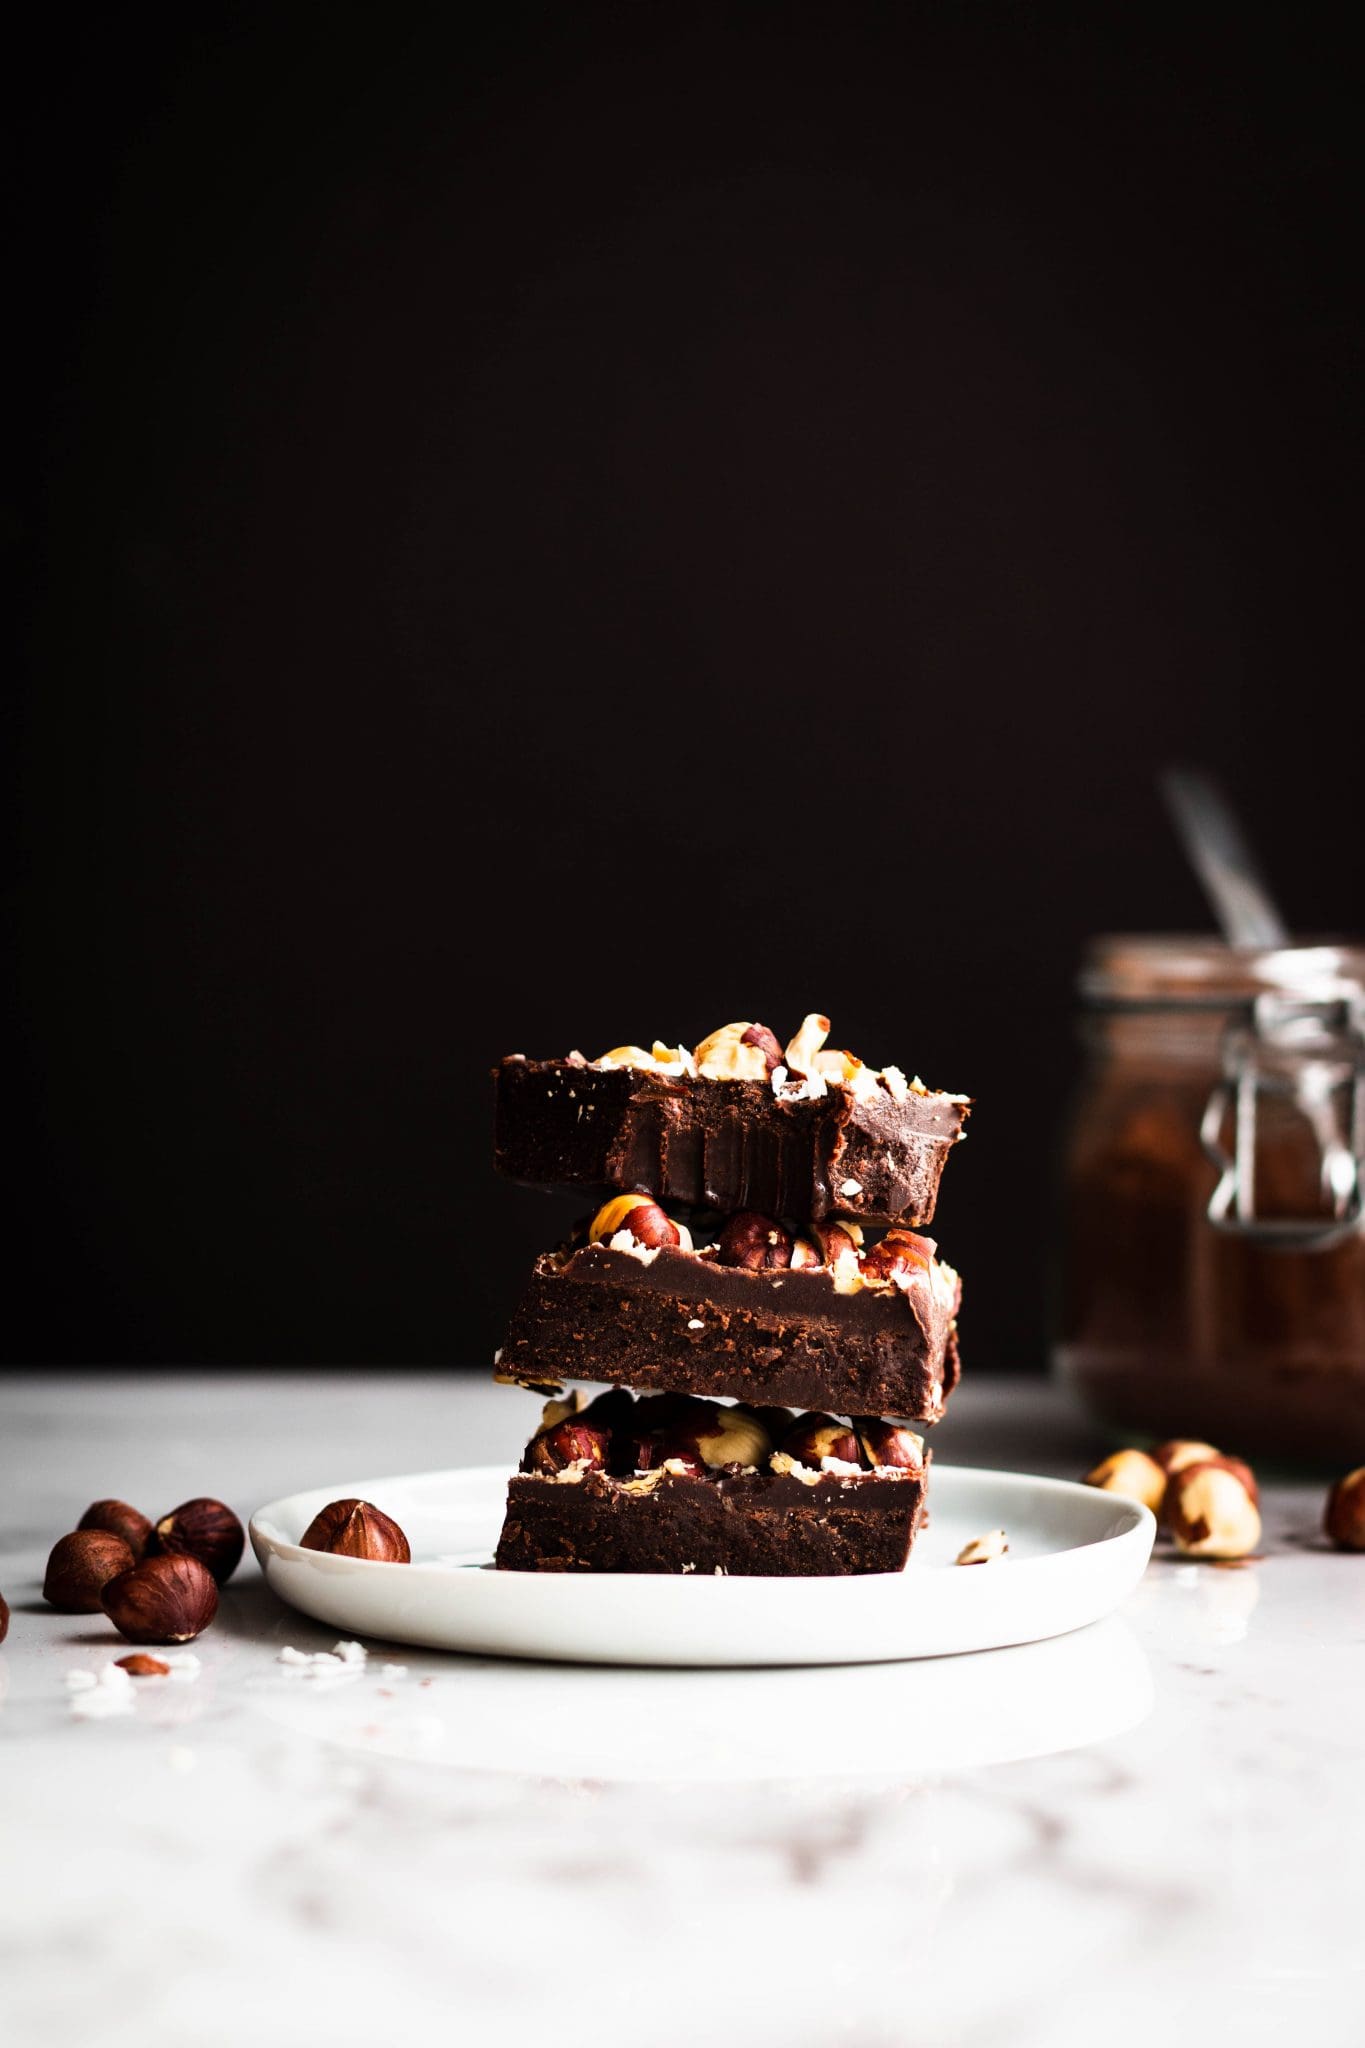
If you’re a fan of Nutella (or any chocolate and hazelnut combination), this recipe is for you. This simple vegan freezer fudge is made with a base of hazelnut butter, cocoa, maple syrup and coconut oil. It’s then topped with roasted hazelnut and optional shredded coconut. It’s quick, easy and delicious.
Chocolate Hazelnut Fudge Recipe Ingredients:
- Hazelnuts: Raw chopped hazelnuts. We’re roasting the hazelnuts to bring out their flavor.
- Hazelnut butter: Roasted hazelnut butter for the base of the recipe.
- Maple syrup: To sweeten the fudge.
- Coconut oil: Melted coconut oil helps create a creamy fudge texture.
- Chocolate chips: Vegan semi-sweet or dark chocolate chips. I prefer using semi-sweet.
- Cocoa powder
- Vanilla extract
- Salt

How to Make Chocolate Hazelnut Freezer Fudge:
Here are the steps to make chocolate hazelnut freezer fudge at home.
- Roast the Hazelnuts
Preheat the oven to 325°F. Line a loaf pan with parchment paper, making sure there’s enough hanging on each side to pull out the fudge later. Chop the hazelnuts and spread them on a baking sheet. Roast for 10 minutes or until lightly golden and fragrant. Set aside.
- Prepare the Fudge
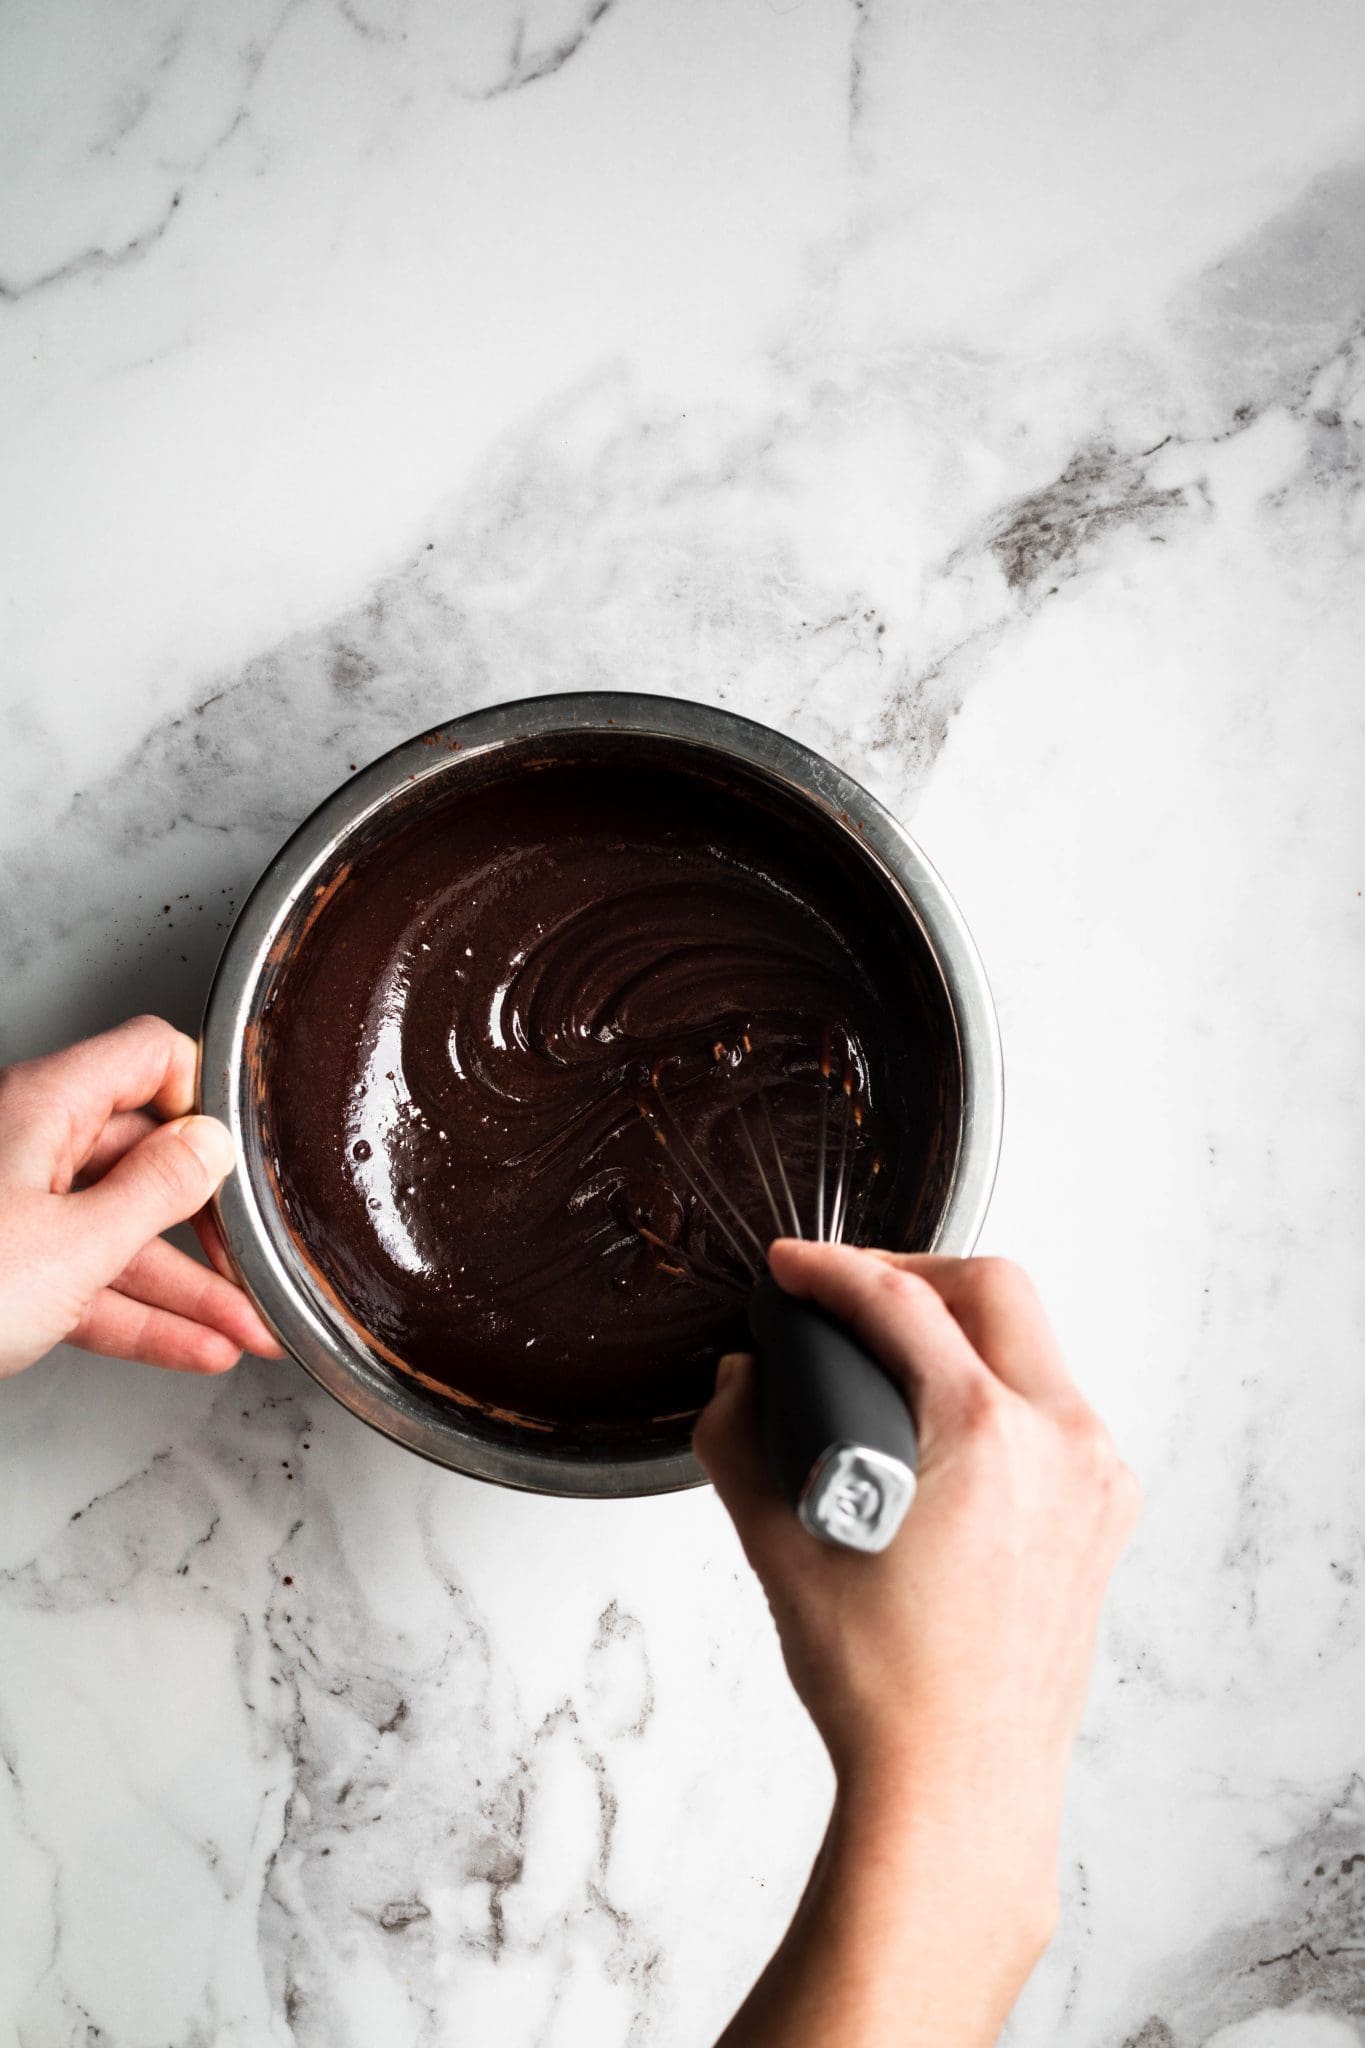
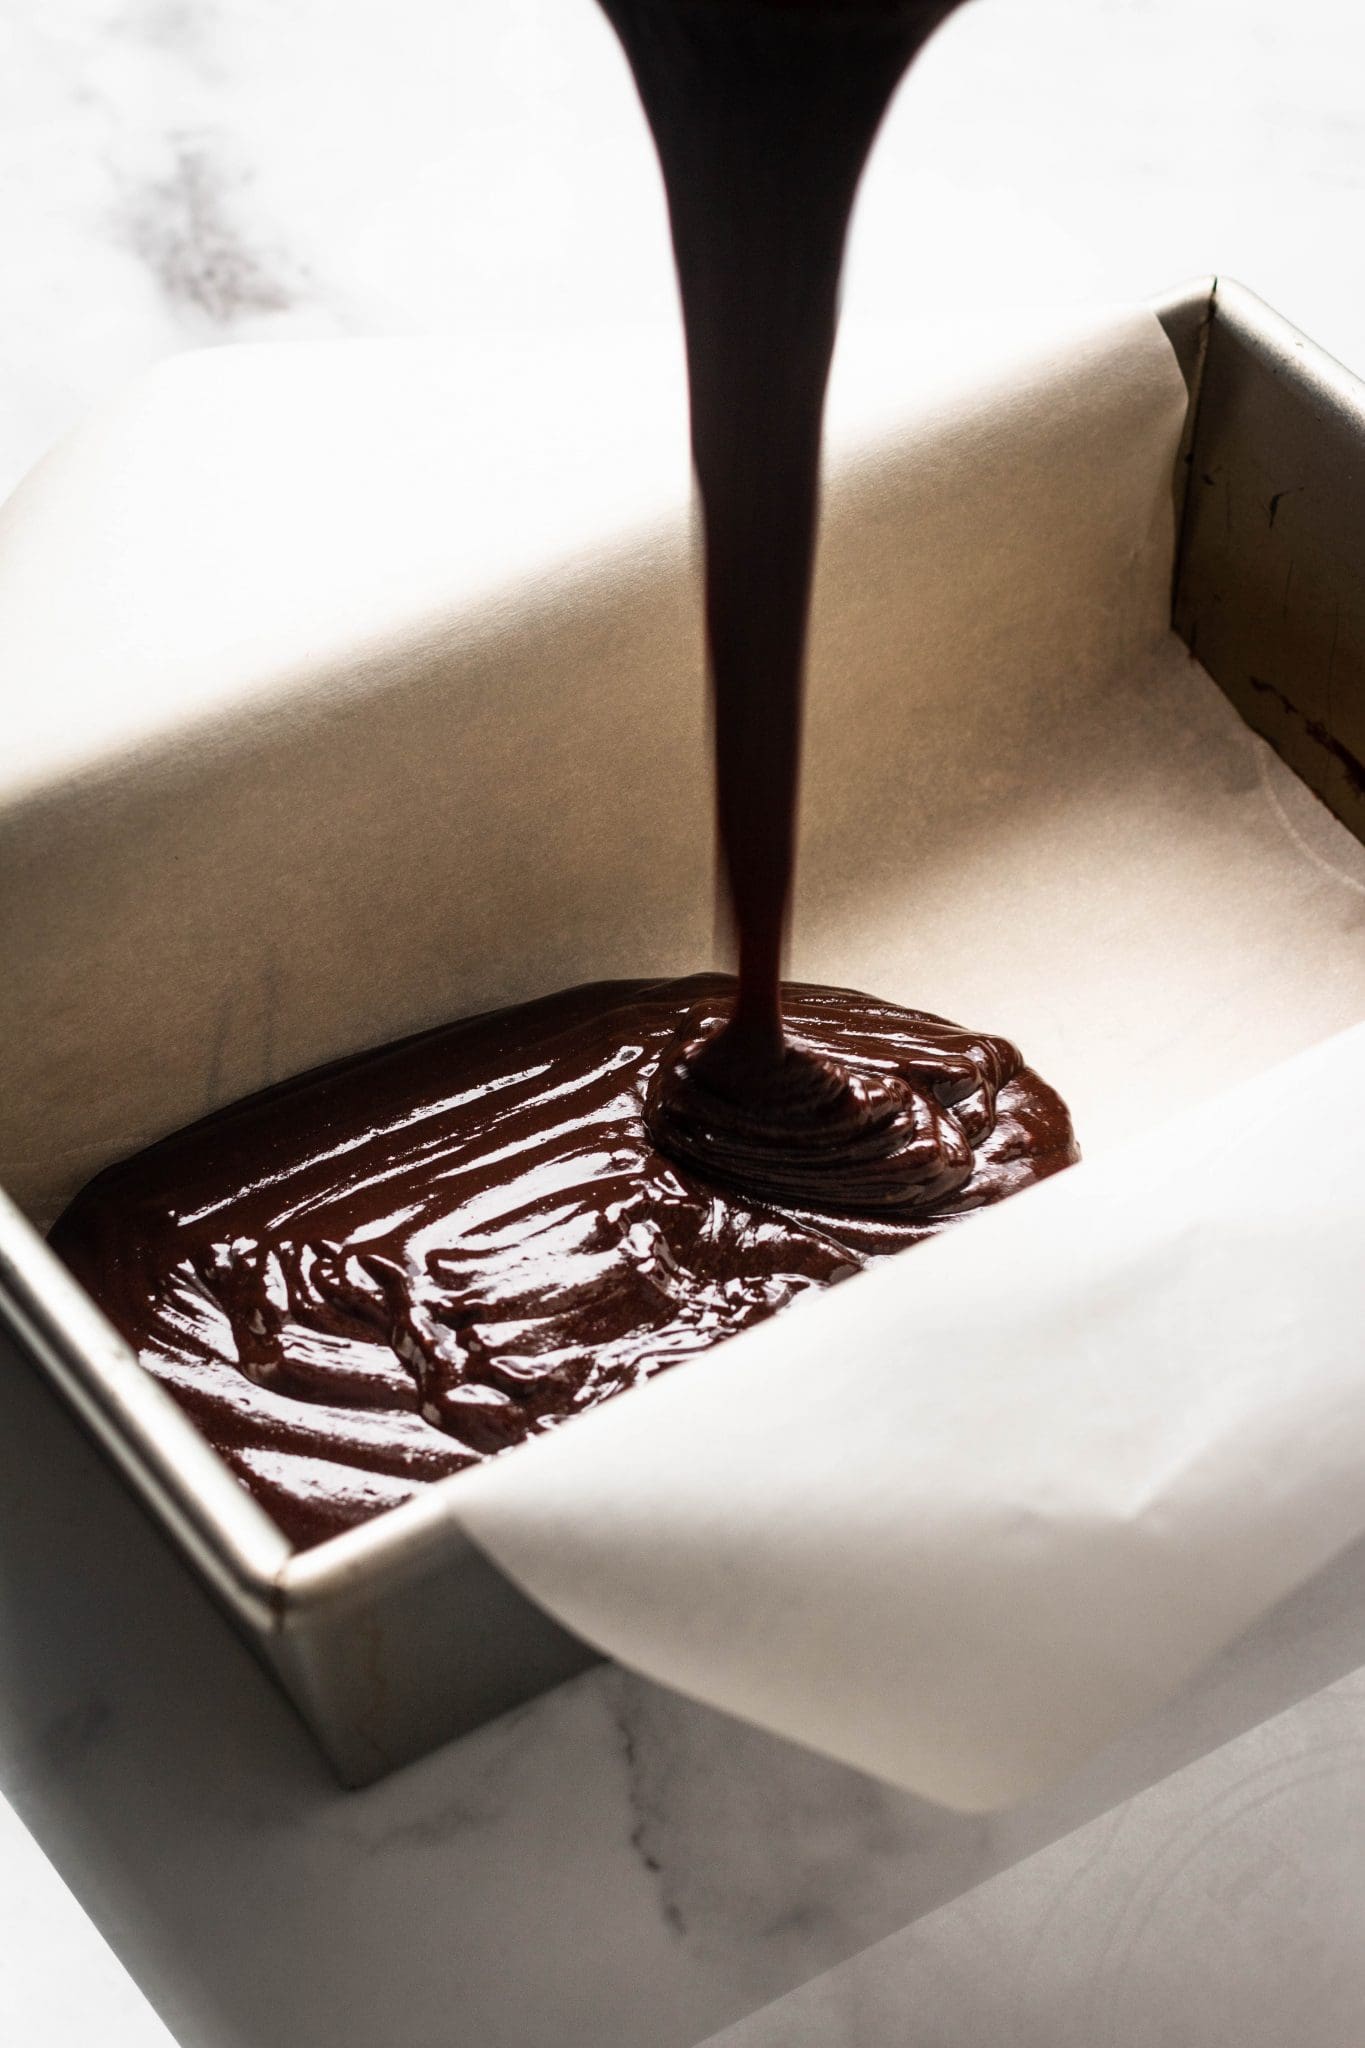
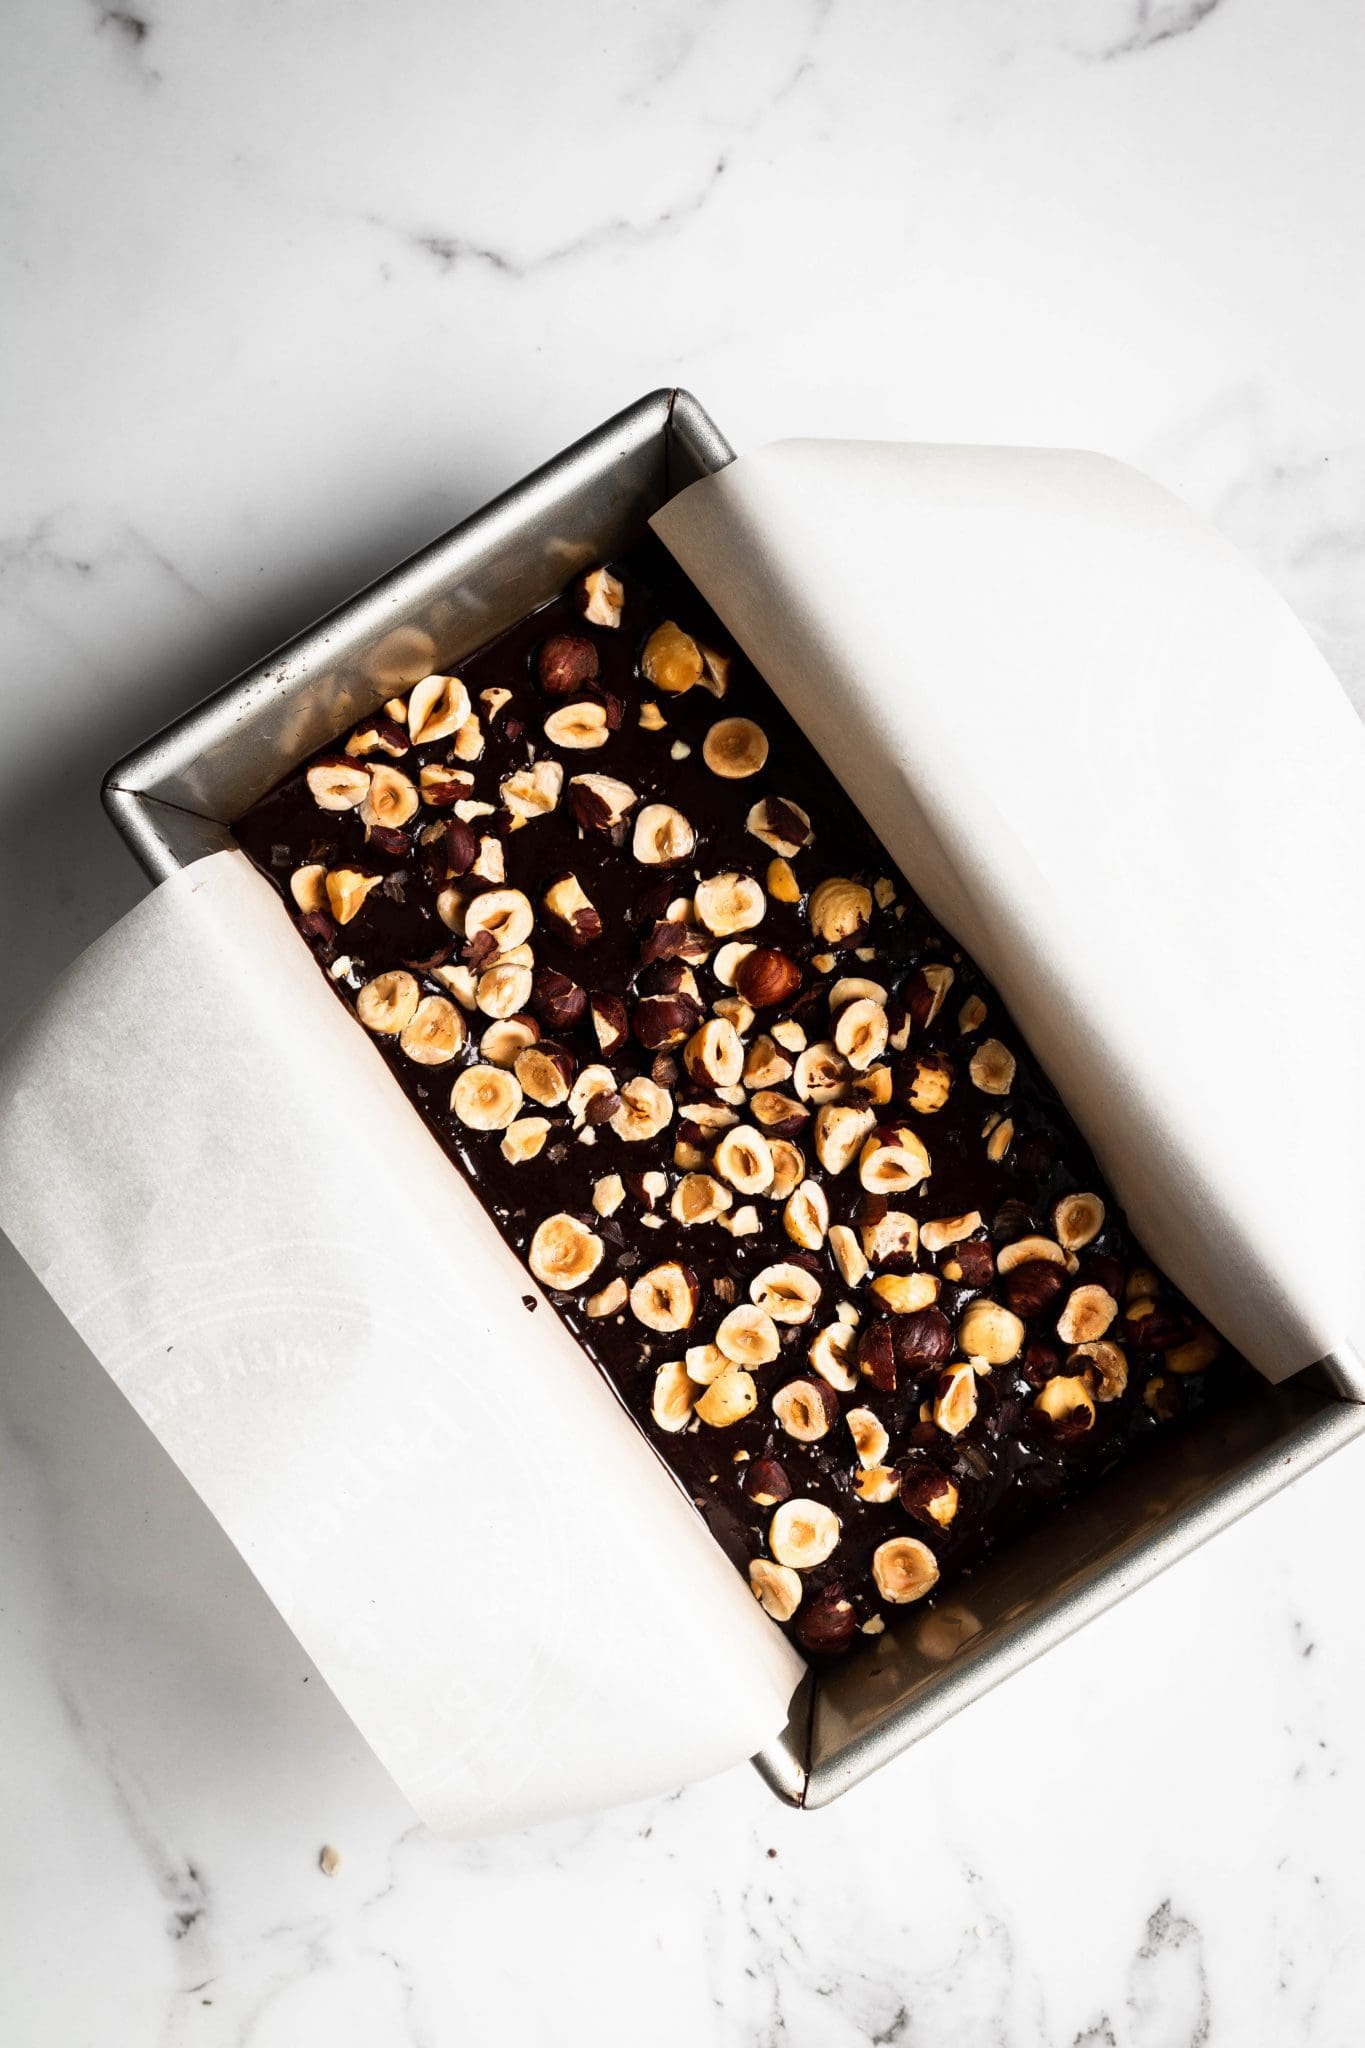
Meanwhile, add the hazelnut butter, maple syrup, melted coconut oil, melted chocolate, cocoa powder, vanilla and salt to a medium mixing bowl. Whisk together until smooth. Transfer the mixture to the prepared loaf pan. Spread it evenly. Top with the roasted hazelnuts and sprinkle with a small amount of flaky sea salt and shredded coconut if desired.
- Freeze and Store
Place the fudge, uncovered, in the freezer for 1 hour or until solid. Cut the fudge into the shape and size that you prefer, making about 12 pieces. Store the leftovers in an airtight container in the freezer.
Chocolate Hazelnut Freezer Fudge FAQ:
Yes! I tested this recipe with almond butter (you can find that version here). You could also try it with peanut butter or cashew butter. Just make sure to use a natural (no sugar or salt added) and creamy nut butter. Avoid using the dry nut butter at the bottom of a jar.
Coconut oil is important for the texture of the fudge. If you don’t like coconut, make sure to use refined coconut oil as it won’t add a coconut flavor to the fudge. And of course, don’t use shredded coconut as a topping. If you need another substitute, you could try melted cacao butter like I used in this recipe.
More Vegan Fudge Recipes:
And if you’re looking for more hazelnut recipes, you can try these hazelnut overnight oats.
Chocolate Hazelnut Freezer Fudge
Ingredients
- 1/2 cup raw hazelnuts, roughly chopped
- 1/2 cup hazelnut butter
- 1/2 cup maple syrup
- 1/3 cup coconut oil, melted
- 1/4 cup vegan chocolate chips, melted (dark or semi-sweet)
- 1/3 cup cocoa powder
- 1 teaspoon vanilla extract
- 1/8 teaspoon fine grain sea salt
- Shredded coconut, for topping (optional)
- Pinch of flaky sea salt, for topping (optional)
Instructions
- Preheat the oven to 325°F. Line a loaf pan with parchment paper, making sure there's enough hanging on each side to pull out the fudge later.
- Chop the hazelnuts and spread them on a baking sheet. Roast for 10 minutes or until lightly golden and fragrant. Set aside.
- Meanwhile, add the hazelnut butter, maple syrup, melted coconut oil, melted chocolate, cocoa powder, vanilla and salt to a medium mixing bowl. Whisk together until smooth.
- Transfer the mixture to the prepared loaf pan. Spread it evenly. Top with the roasted hazelnuts and sprinkle with a small amount of flaky sea salt and shredded coconut if desired.
- Place the fudge, uncovered, in the freezer for 1 hour or until solid. Cut the fudge into the shape and size that you prefer, making about 12 pieces. Store the leftovers in an airtight container in the freezer.
Notes
If you make this chocolate hazelnut freezer fudge, be sure to leave a comment and/or give this recipe a rating! I love to hear from you guys. And of course, if you try this recipe, don’t forget to tag me on Instagram!






Leave a Reply